Newborn babies are a blessing, but this blessing can cost you hundreds of dollars on clothes and baby stuff. We can never ignore a baby’s need for a comfy little dress. So, with this tutorial I aim to help you create a perfect little dress for your baby that would not cost you a dime! That’s right. So, let’s begin!
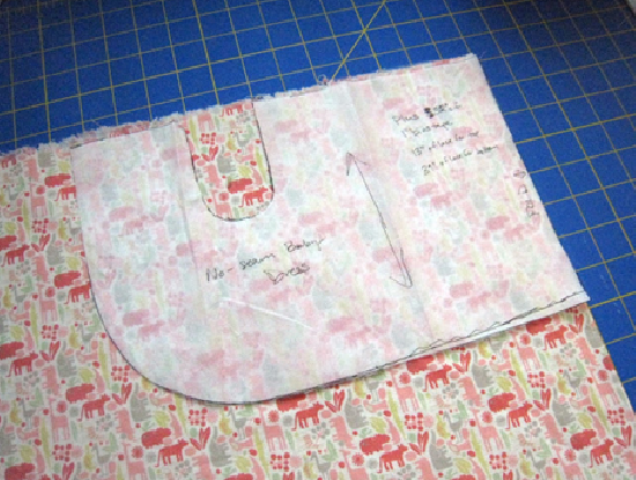
1. Measure and cut the fabric. The best way to make sure that you make the rights cuts, use an old dress for measurement guidance. Otherwise, fold the fabric in two and make the cut, as shown in the figure below.
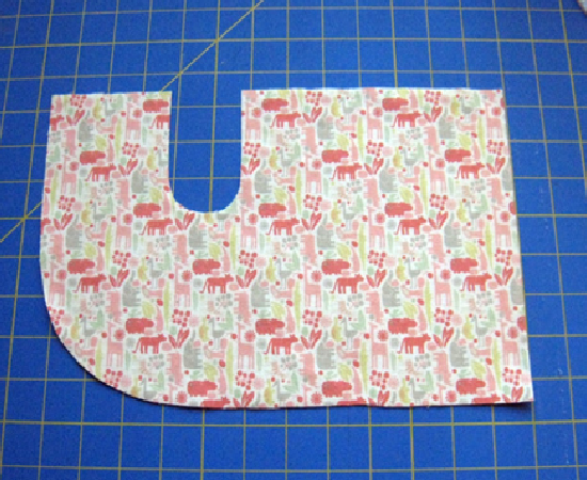
2. After the cut, your fabric should look something like the image below.
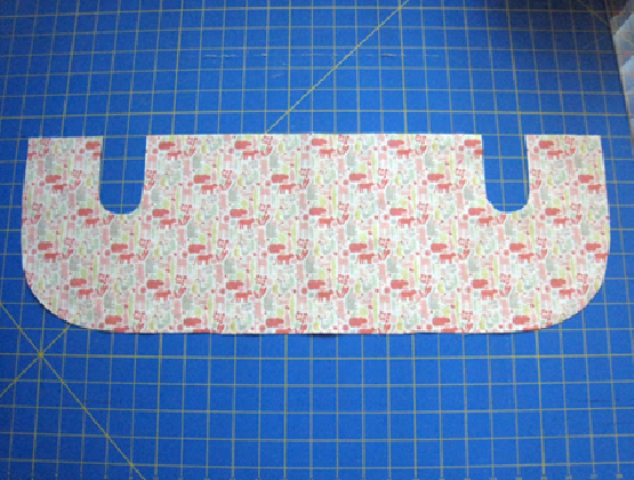
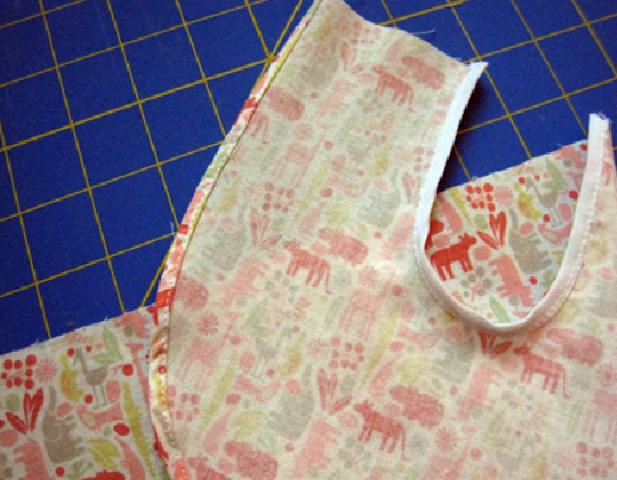
3. Unfold the fabric to reveal the two identical sides. This is how the fabric will look when opened.
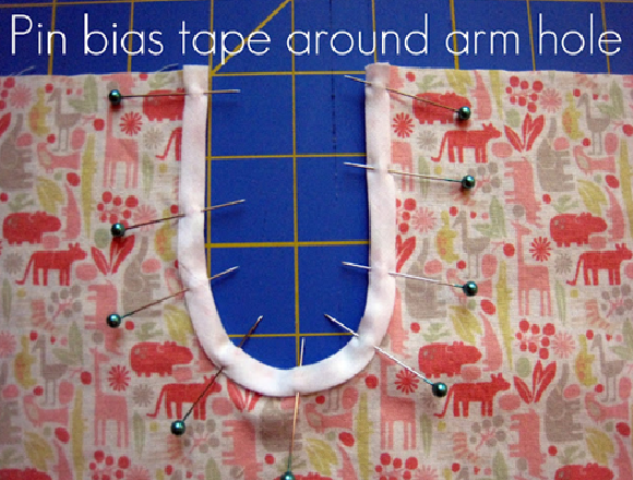
4. Attach the bias tape around the armholes, as shown in the figure below.
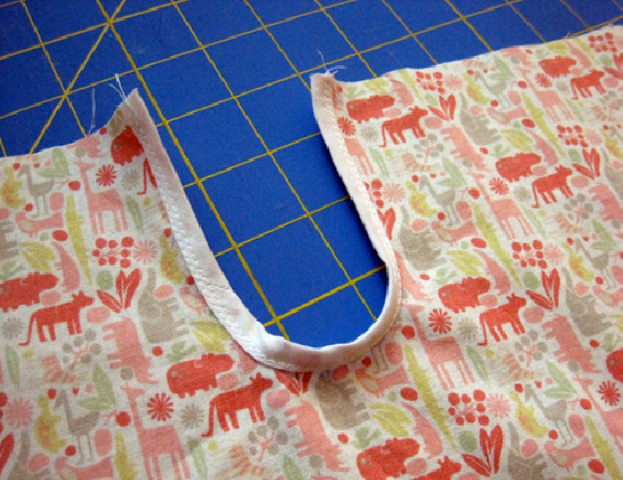
5. Stitch the bias tape; use a row stitching to make sure that the bias tape is securely attached.
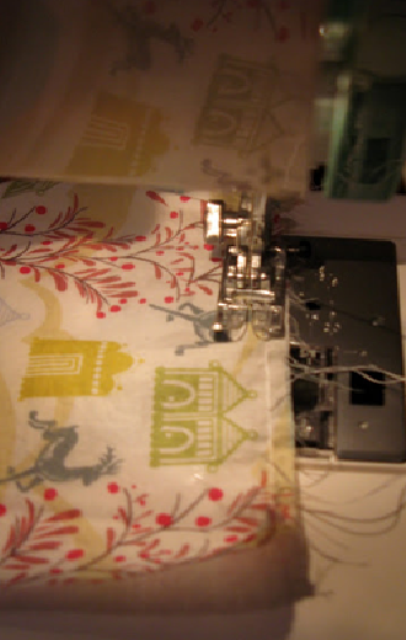
6. Now, stitch the hem of the dress. After you are done with the hem, your dress is prepared for the top gather.
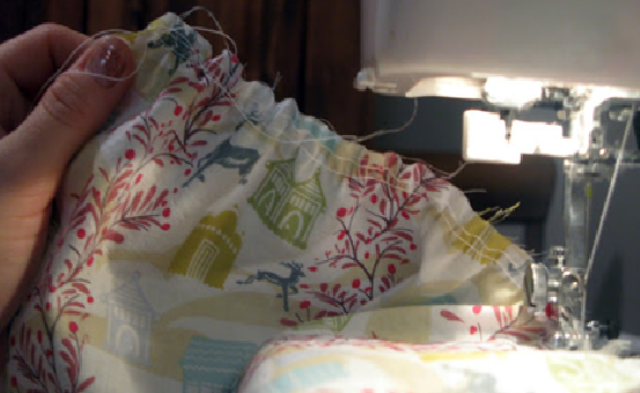
7. To gather the top of the dress, stitch top of the dress with single, long stitch. Do not backstitch; just leave the long tails of threads as it is.
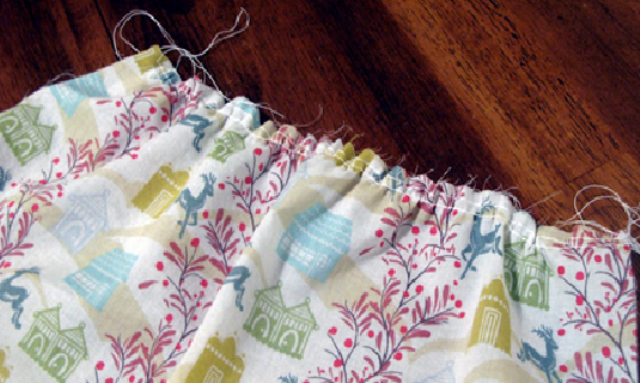
8. This is how the top would look after you are done with stitching.
9. Pull the extra threads (that should be sticking out) and gather the top of the fabric.
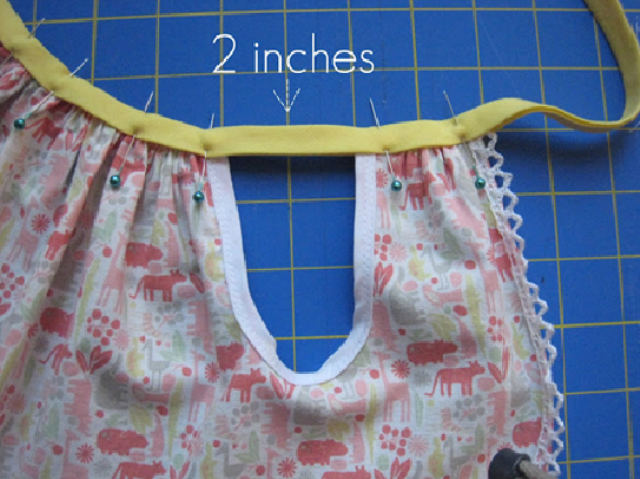
Do not gather the top for more than 2 inches.
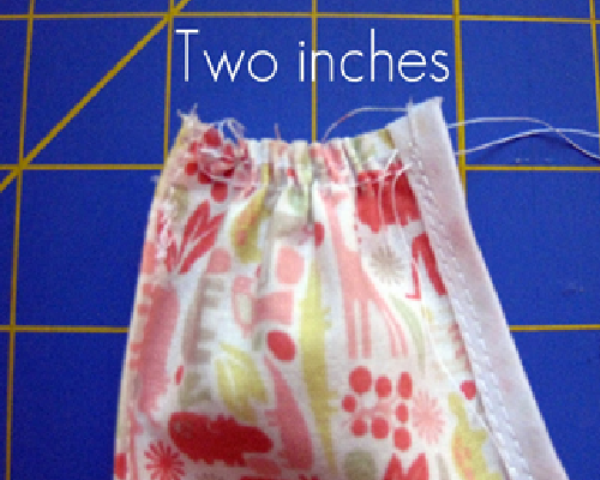
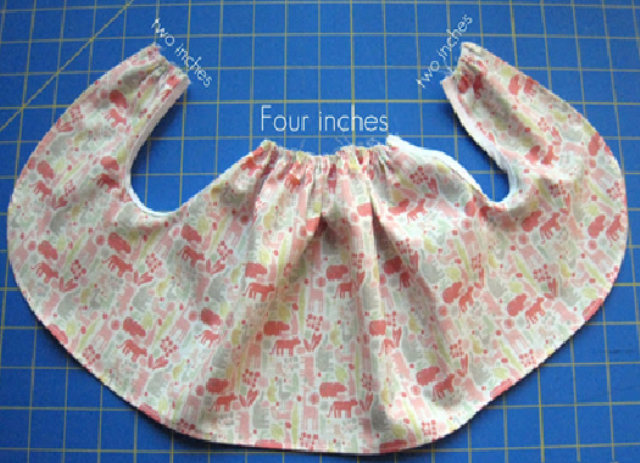
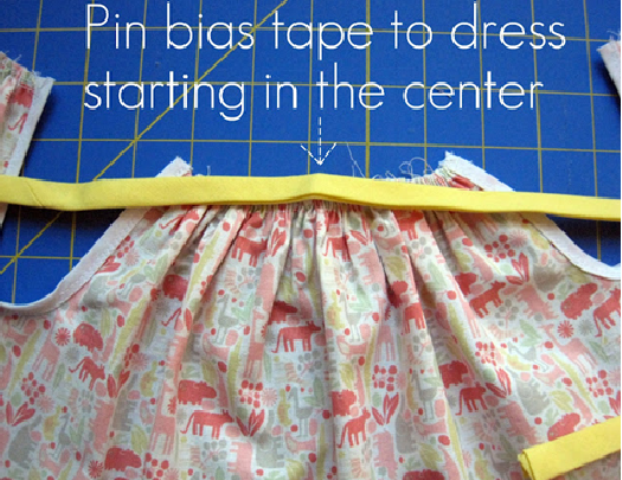
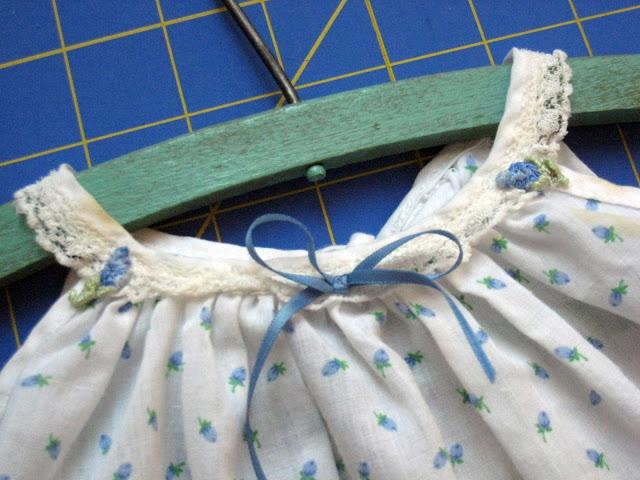
Measurements are extremely important for perfection in sewing. Keep the gathered top for the top sides up to 2 inches and the neck area gathered up to 4 inches, as shown in the figure below.
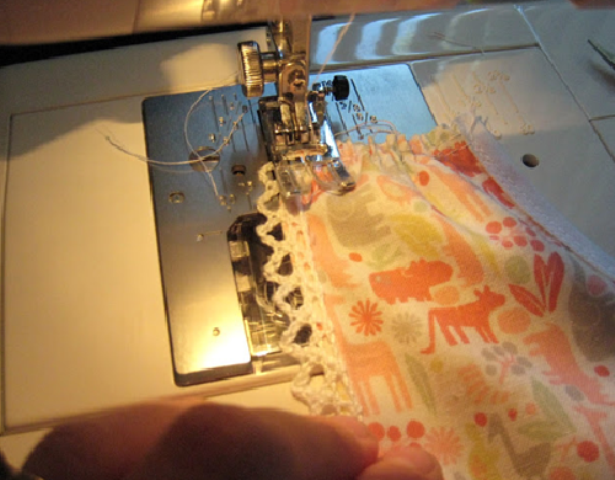
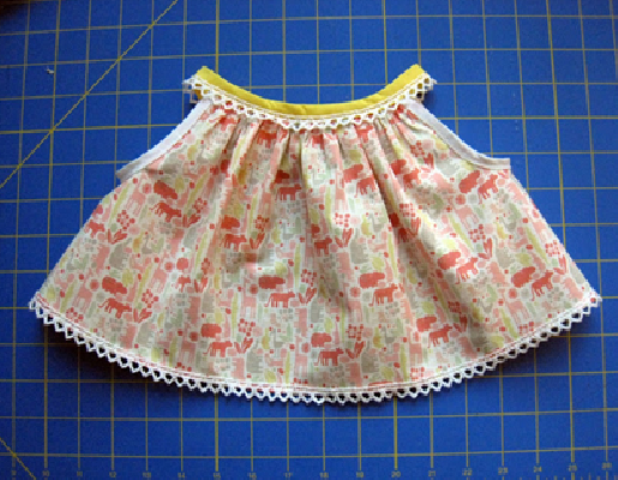
10. Add the trim to the dress and stitch.
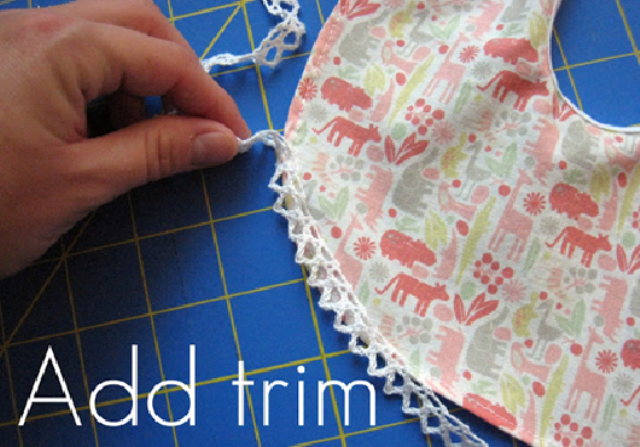
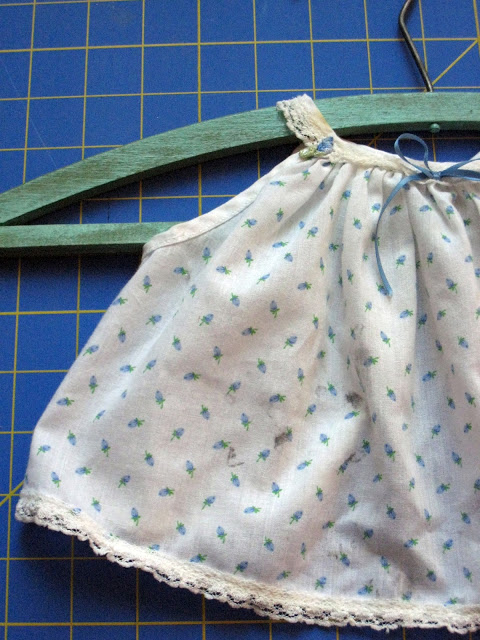
After you are done adding the trim, the dress should look something like the image shows in the image below.

11. Attach the bias tape to the edges of the dress.
12. Keep the bias tape 2 inches in width.
13. Secure the bias tape with the help of the sewing pins.
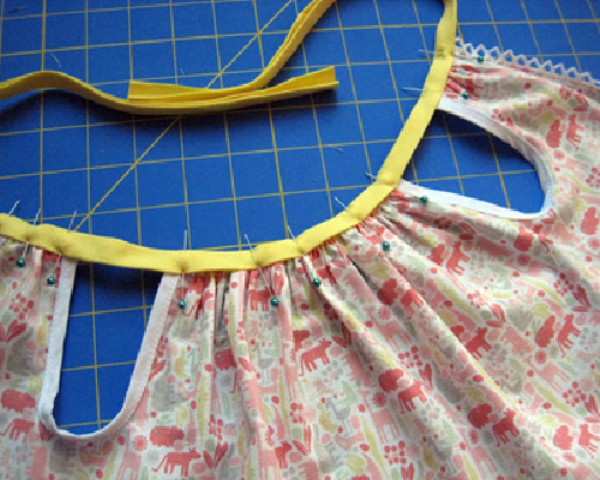
14. Sew the bias tape to the neckline.
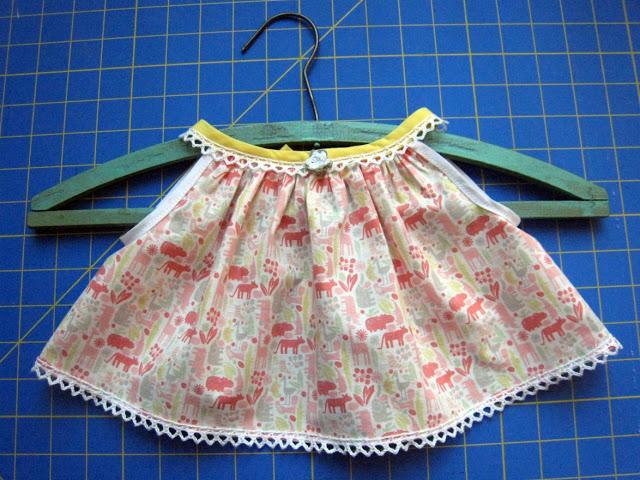
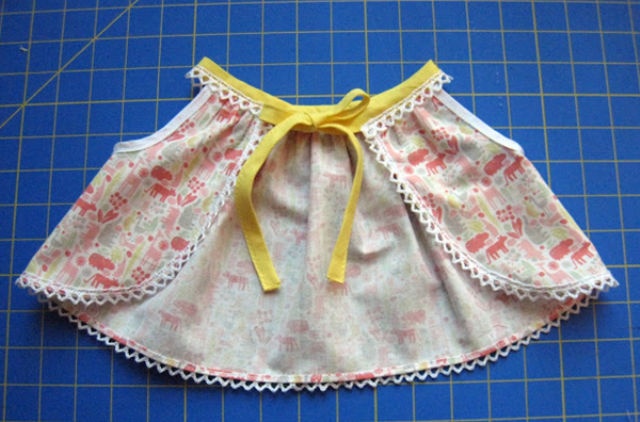
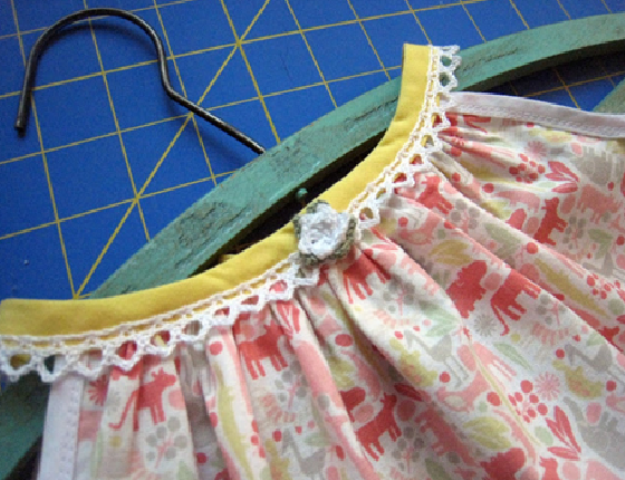
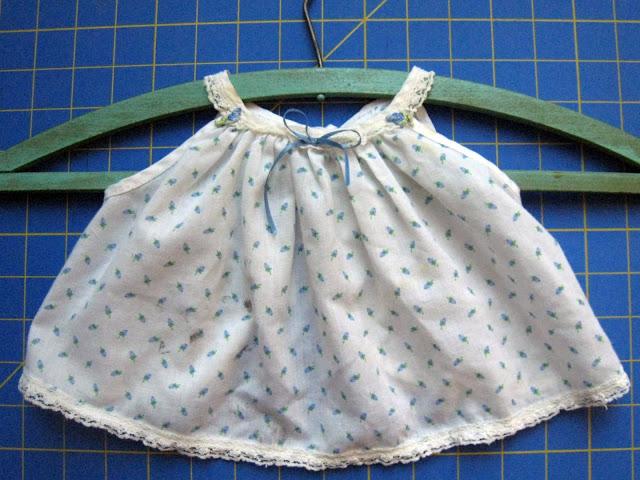
And there we go! An adorable baby dress is ready.
We are always looking forward for your opinion. Share your opinion with us and let us know what you think. Cheers!