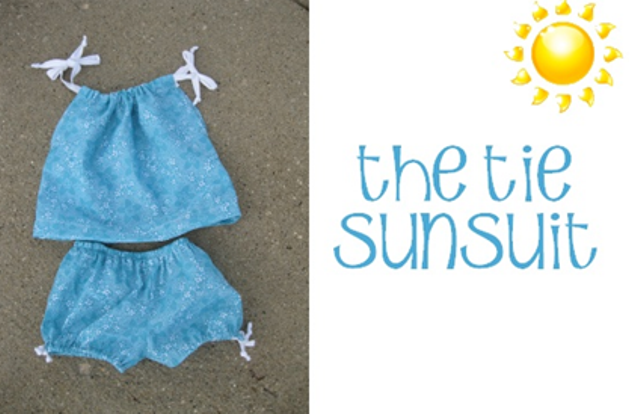
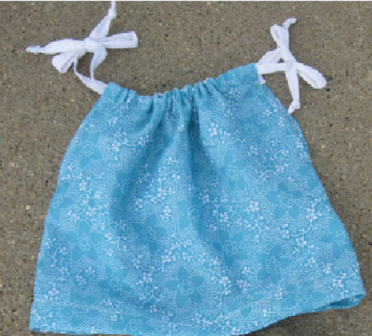
Cute summer dresses are a perfect item to let your child’s skin breath a little while he enjoys the sun. In this tutorial, I will show you how to make a cute tie sunsuit in a few simple steps. Yes, you heard it right! Let’s begin!
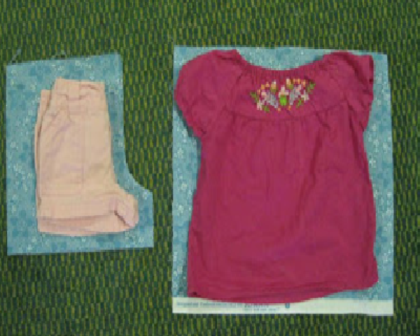
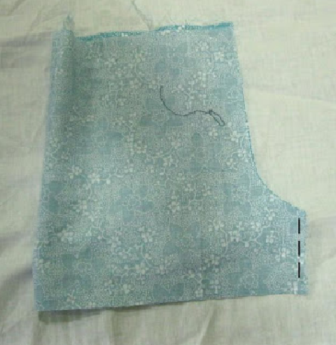
1. Carefully measure and cut your fabric. Use some old shorts of your kid for guidance. Place the old shorts and a shirt on the fabric and cut accordingly.
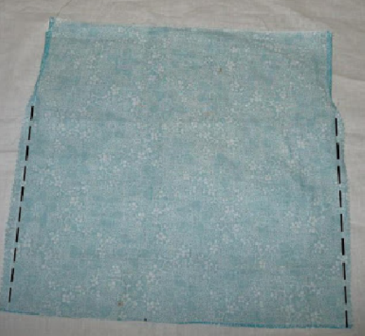
2. For the shirt, sew the sides of the fabric with about 3 inches unsewn armholes.
3. Now, edgestitch to complete the armhole.
4. Flip the top part of the fabric over twice and sew the bottom to complete the casings.

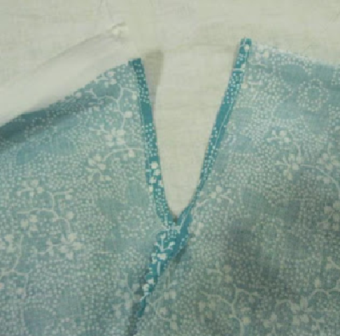
5. Sew the top of the shirt to create a loop for the ribbon. Place the ribbon through the loops and tie the ends to secure the ribbon.
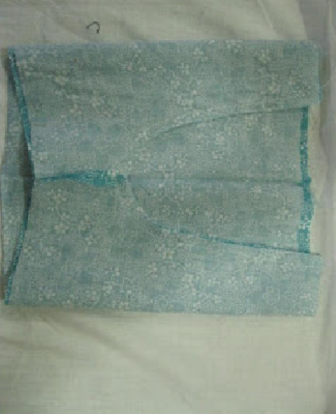
6. All done with the top. Let’s move to the shorts. Make sure the fabric is turned inside out. Now, sew the sides of the shorts.
7. Now, turn the edges over twice and sew, just like we did with the shirt.

8. Carefully stitch the crotch area.
9. Now, create the loops just like we created before and pass the ribbon through the loops. You can choose to add the ribbons to the bottom of the shorts if you wish. (I suggest you do it as it can make the shorts look super cool.)
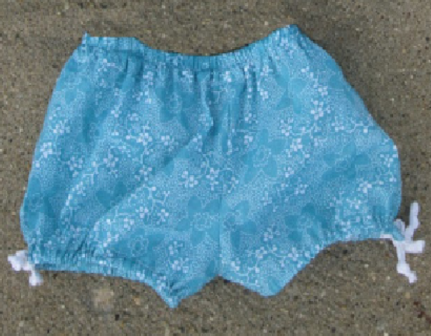
Voila! All done.

And doesn’t that just looks awesome!


We would love to hear from you. Share your opinion with us in the comment section below. Cheers!