A couple of years ago, me and my husband came across a sophisticated birdbath that seems like a great investment and it was. But unfortunately the bird bath didn’t enjoyed much glory days and broke off to pieces after it fell over. As it was a good investment, my husband decided to glue the pieces back together, so we could keep it working for some time. It wasn’t until recently, when I decided to revamp the poor piece of ceramic. Here is the detailed tutorial of my effort to give a face-lift to the bird bath.
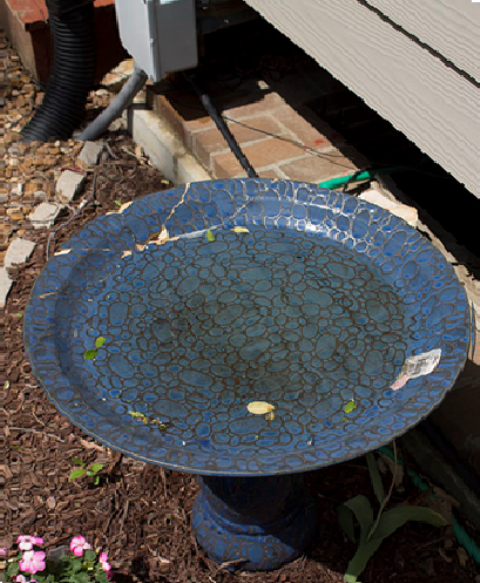
There were a lot of cracks that needed patching, so I decided to start form there.

To cover the cracks I used the ultimate weapon – JB water weld.
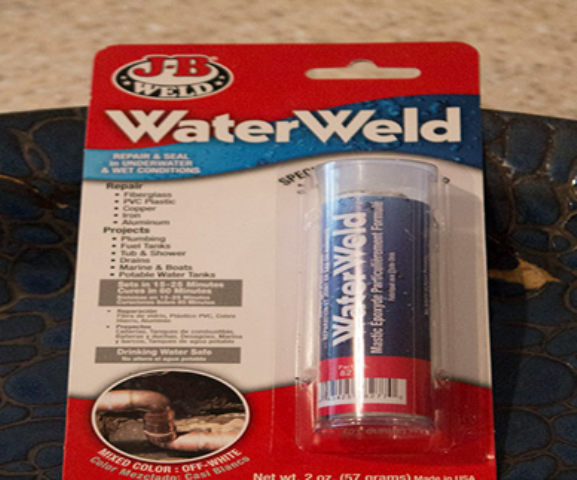
The great thing about this little miracle-in-a-tube is that it is completely safe for drinking water, which means that it will not harm the precious birds that would be flocking to the bird bath in the spring for a warm water delight.
The tube offers a clay mixture that you will use to carefully fill the cracks. Your kitchen knife would work great here!
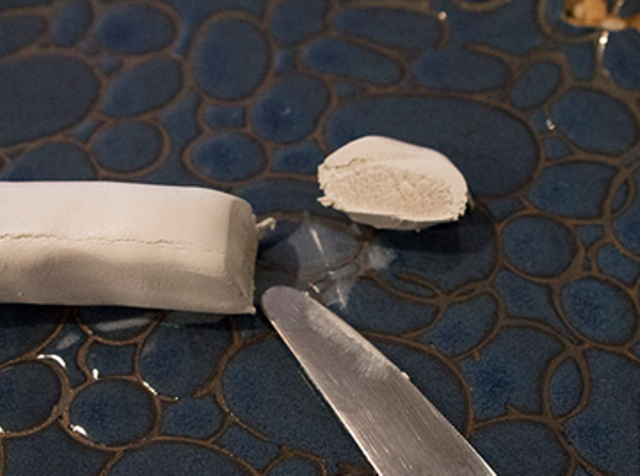
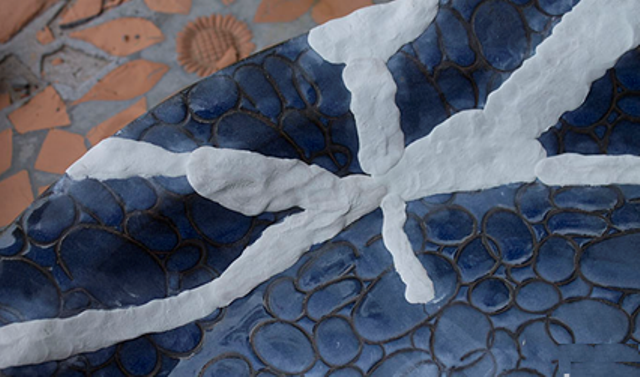
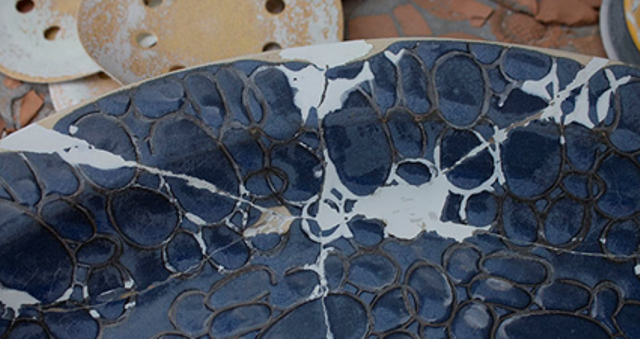
Scrupulously fill or cover the cracks so that the bird bath looks something like the image below. After smoothing the clay mixture over the cracks, let it dry for 45-60 minutes.
Next, use the sander to smooth the surface of the bird bath so it gives an even look.
Now comes the interesting part. Fish out the old DVDs from the house. You will need several DVDs depending on the size of your birdbath.

Now, start cutting the DVDs, but make sure that you will never need those DVDs again before you start.
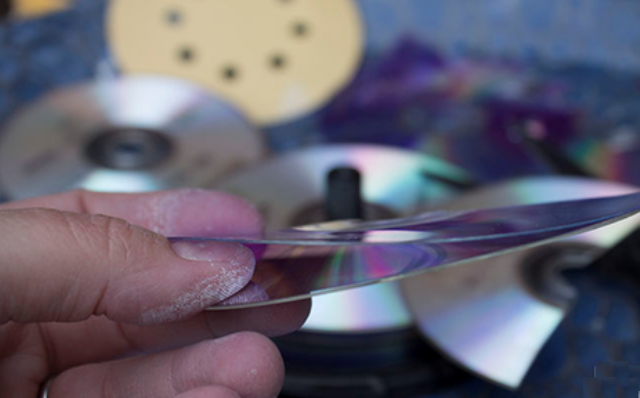
Now, pull the layers of the DVDs apart (they will probably be coming off any way).
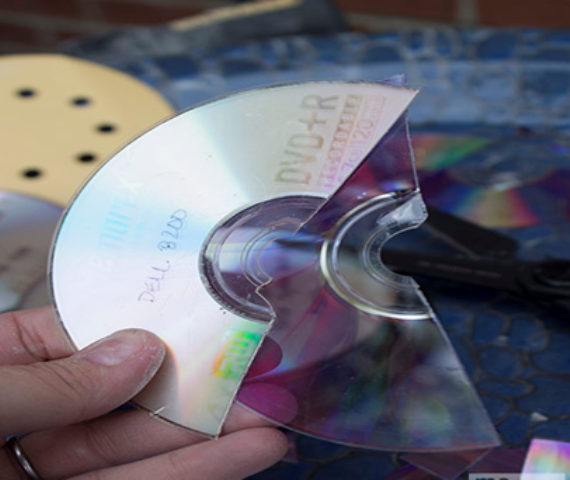
Cut the DVDs in equal parts; the ideal way is to cut them in 6-9 pie slices.
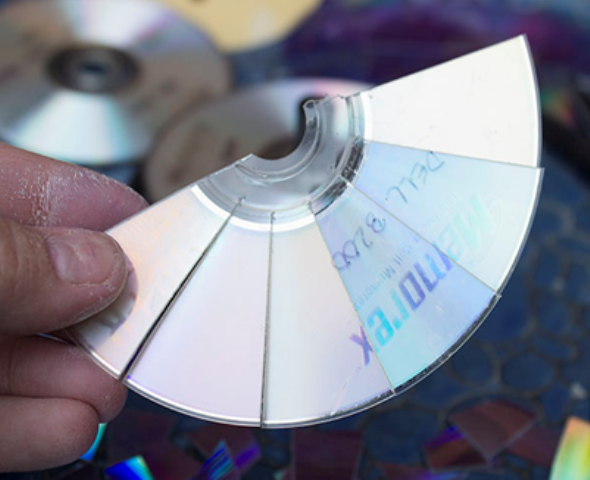
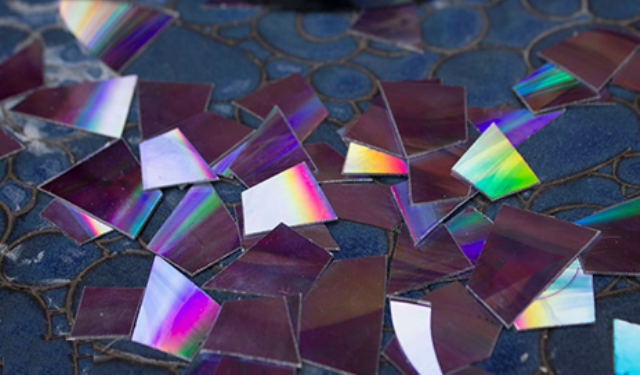
Now, tear off each DVD slice from the center point individually and cut the edges off to get a more trimmed and shaped figure for the DVD slices.
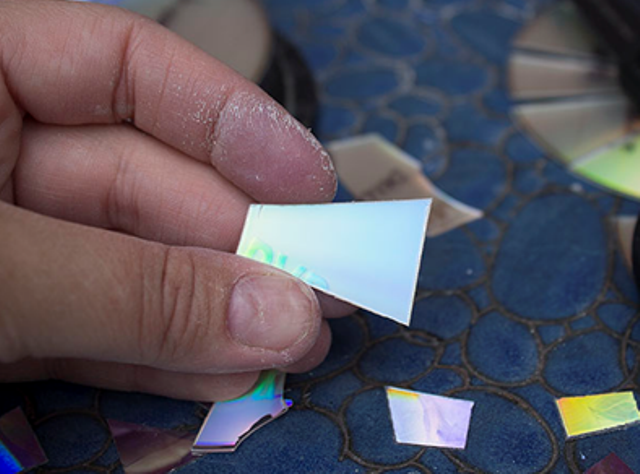
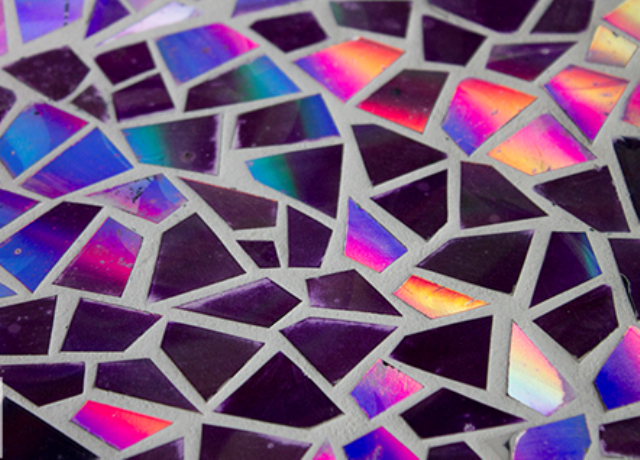
The side that you would be using for decorating your birdbath will be the inside layer of the DVDs that portray sublime rainbow colors (aww!)
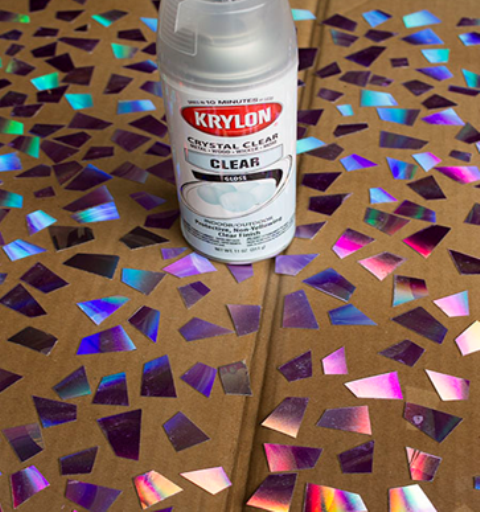
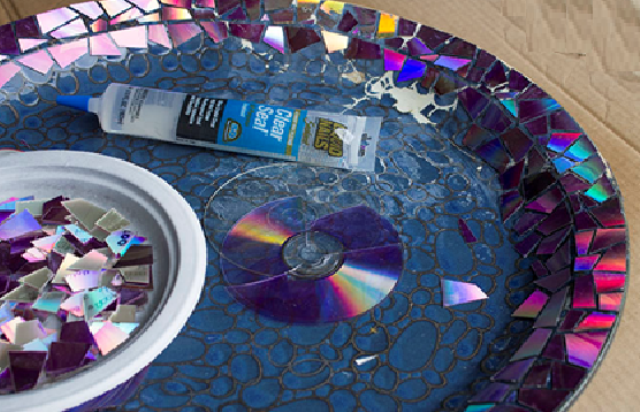
After you are done slicing up and tearing up the DVDs, the next important part is to protect the slices as they may not retain their original shape and color for longer. A great solution for protection can be Krylon Crystal Clear Gloss, but you can use any other protective spray to cover the slices. Spray the edges of the slices several times to create a strong protective layer.
Now, glue the slices to your bird bath with a super glue.
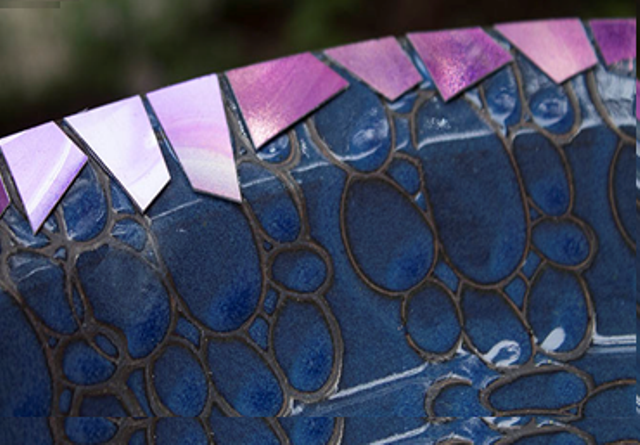
Start with the edges of the bird bath and work your way in.
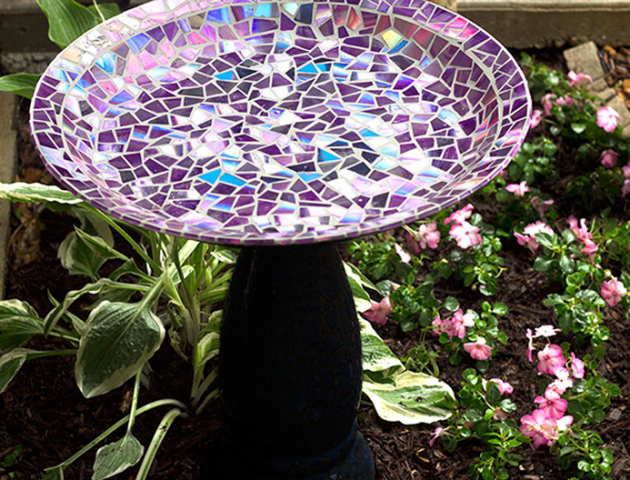
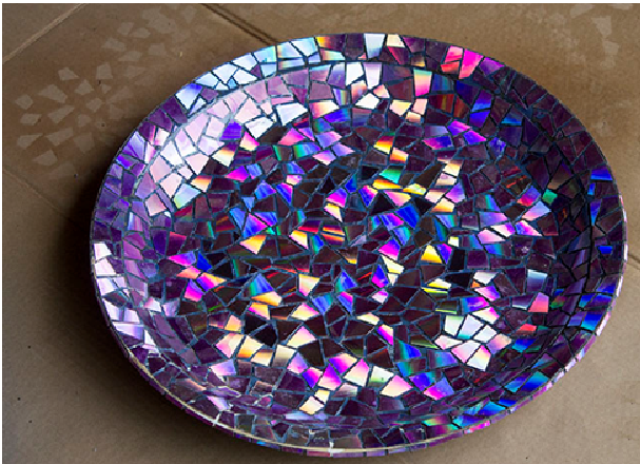
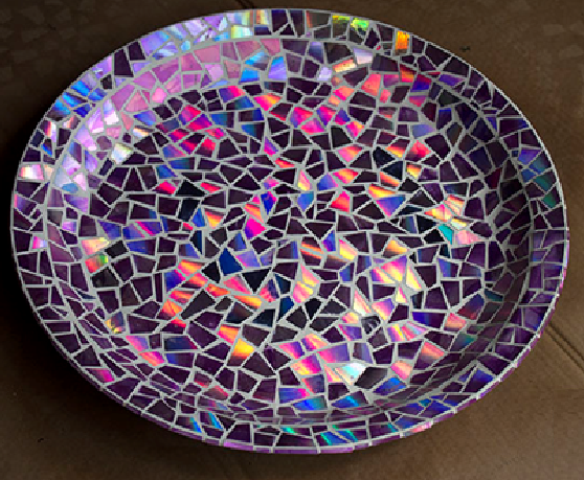
And Ta Da! The bird bath is ready. Doesn’t it look just striking!
I know you must be all hectic by now (gluing those tiny slices to the giant bird bath is not exactly a walk in the park). But we are not done yet. You see those small spaces in-between the slices, the birds can easily get their legs stuck in there.
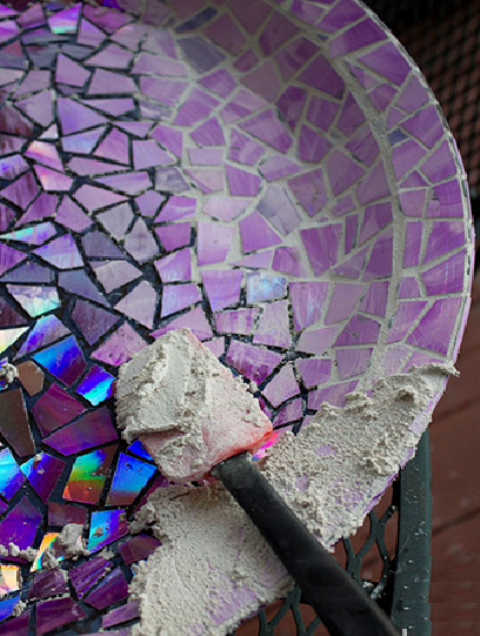
The safest solution for that is to use grout with a little concentration of polymer (don’t worry; they can easily be bought from your nearest supermarket.)
Spread the grout smoothly between the slices and wipe the excess grout off with a damp towel or fabric.
And there we go! It’s all ready to go back to the backyard.
Here are various shots of my birdbath (I couldn’t help but take a dozen photos).
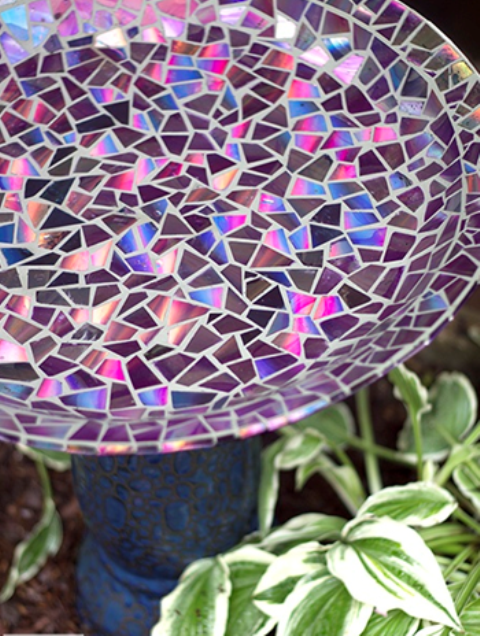

Revamp your broken birdbath today and share your experience with us. Do not hesitate to use your power to comment!