Hair bows are a perfect thing to add a little flair to your little princess’s overall outfit. In this tutorial, I will walk you through the step-by-step process of creating a flower hair bow.
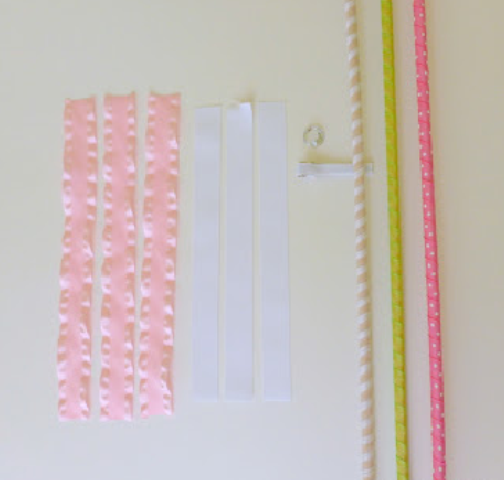
1. Grab a ribbon and fold it in half. Make sure that you fold it in a way that it leaves a crease.
2. Similarly, fold all the 5-4 ribbons.
3. Now, unfold the ribbons and dab the hot glue on the crease and unit the middle of the ribbons.
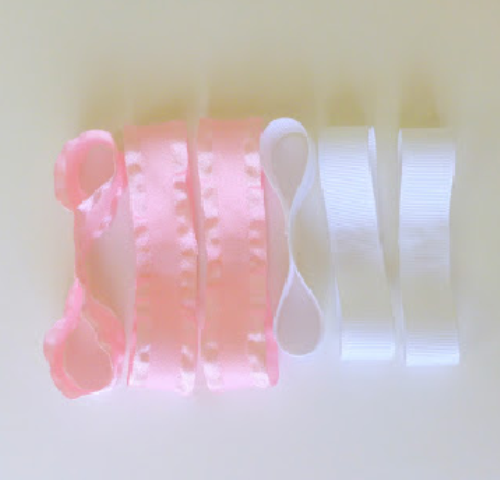
After you have joined the middle portion of every ribbon, the result would look something like the image shown above.
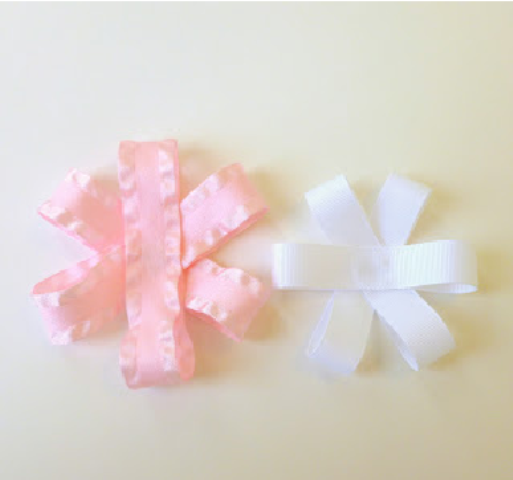
4. Now, take the first loop of ribbon and place a tiny dab of hot glue on it.
5. Place the second loop of ribbon on top of the first one so that it creates a perfect X.
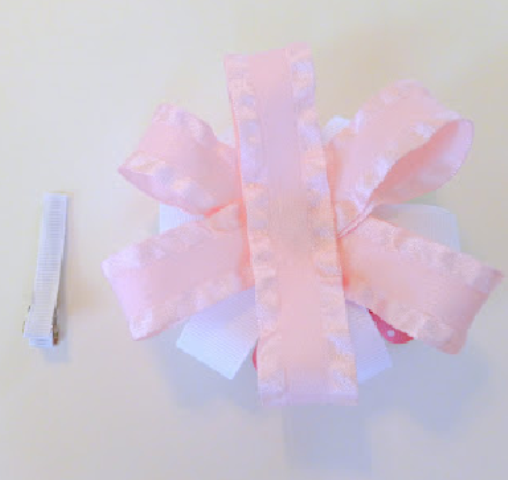
6. Similarly, put a tiny dab of hot glue on the third loop and unite it with the other tow to create an additional X, as shown in the figure above.
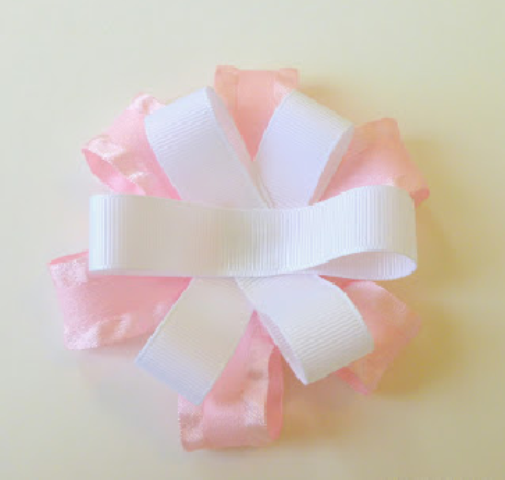
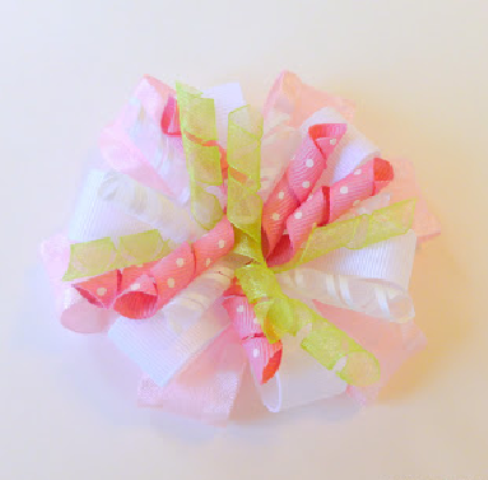
5. Create a smaller ribbon flower and place it above a larger ribbon flower. The result would be something like the image shown in the figure above.
6. Press the flowers firmly together to make sure that they are intact.
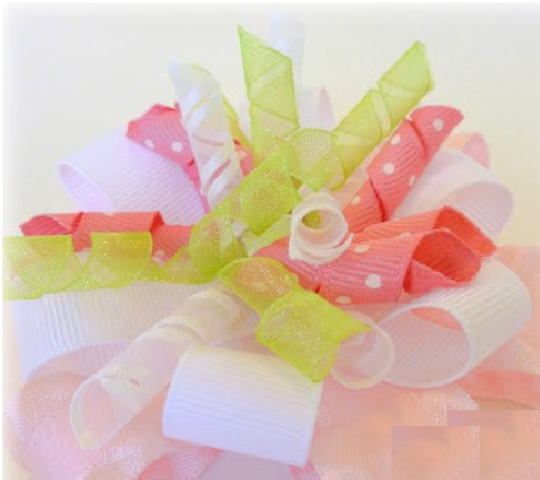
7. Now it’s time to have a little fun with ribbon flower. You can choose to add a button or a glittered hair pin or anything you wish.
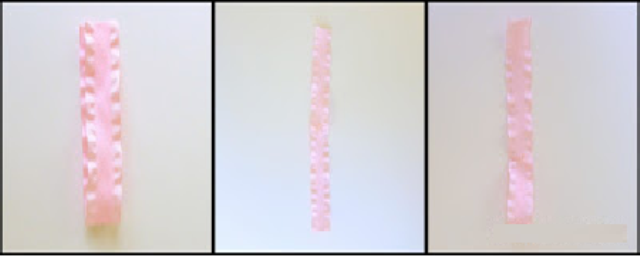
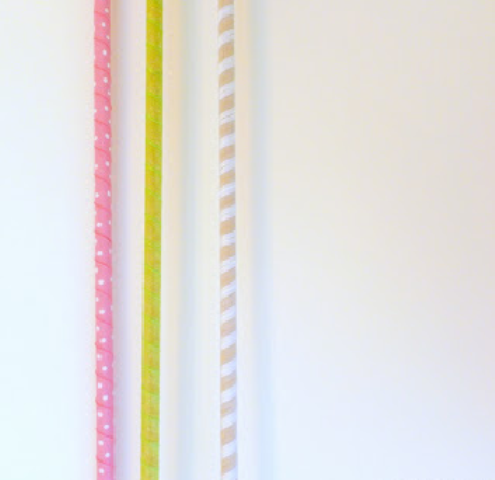
8. I will be adding a korker bow in the middle. You can easily create a Korker bow at home. For a detailed tutorial regarding the Korker bow, see the “how to create a korker bow” tutorial.
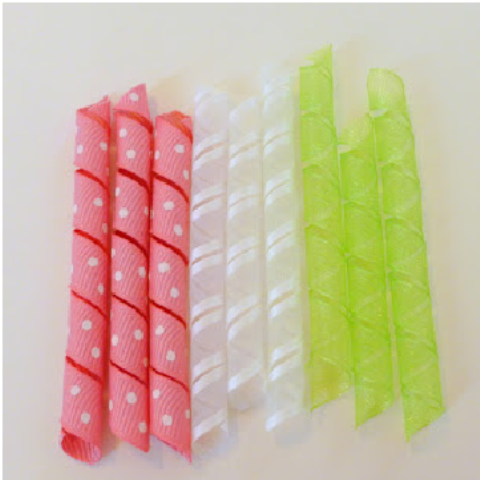
Your Korker bows should look something like the image shown above. Cut your Korker bows to a smaller length or in a length that suits the size of your ribbon flowers.
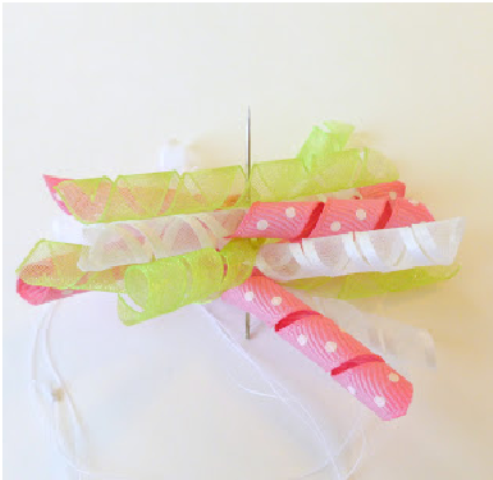
9. Attach the Korker bows together with the help of a needle and thread.
10. Now, attach the kroker bows to the ribbon flowers with the help of a needle and a thread or the hot glue.
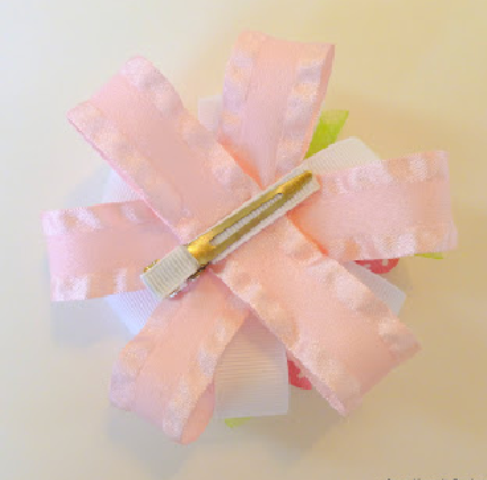
11. Flip the hair bow, as shown above, and attach a safety pin in the center, as shown below.

And Voila! Doesn’t it just look gorgeous! Do not forget to take a picture of your little darling and share with us. Cheers!